Planning Recessed Lighting
Planning Recessed lighting is crucial for creating a perfectly lit space. It provides a clean and modern aesthetic while offering functional light to different parts of your room. But how do you achieve the ideal layout that balances aesthetics with practical needs? This guide will explore effective strategies for planning recessed lighting for your space.
Why Plan Recessed Lighting?
Planning Recessed lighting is a great way to enhance the versatility of your space. It can adapt to any room, providing soft, ambient lighting without taking up ceiling or wall space. Moreover, it enhances the room’s visual appeal and highlights key features without overpowering the decor.
From kitchens to living rooms, recessed lighting helps achieve a bright and seamless look, making it a favorite among homeowners and designers.
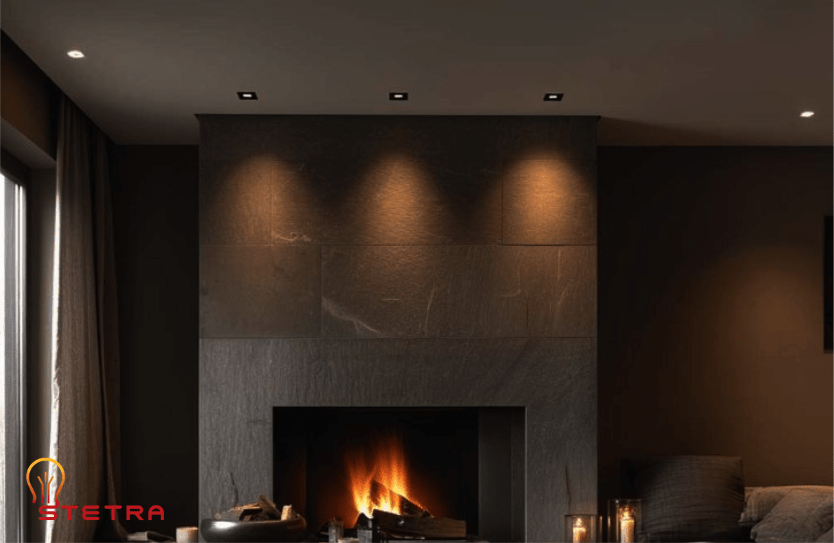
Types of Recessed Lighting Fixtures
Downlights
It is commonly used for general lighting or task lighting. They direct light straight down in a concentrated beam.

The most common sizes of downlight apertures include the following:
1. Circular Apertures:
- Common sizes range from 2 inches to 12 inches.
- Miniature versions, such as 2-inch, are often used for accent lighting or specific task lighting. Larger apertures like 8 inches or more are typical for general lighting in large spaces.
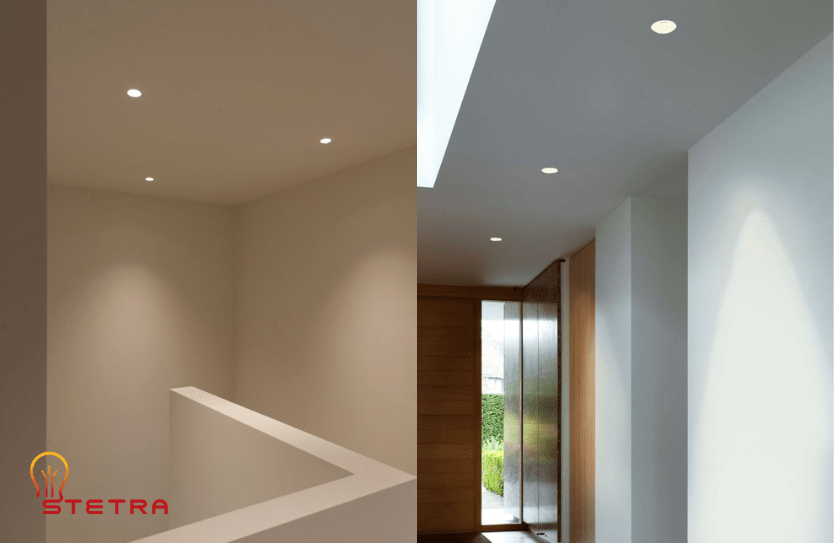
2. Square Apertures:
- These generally range from 4 to 8 inches, suitable for modern and clean design aesthetics.
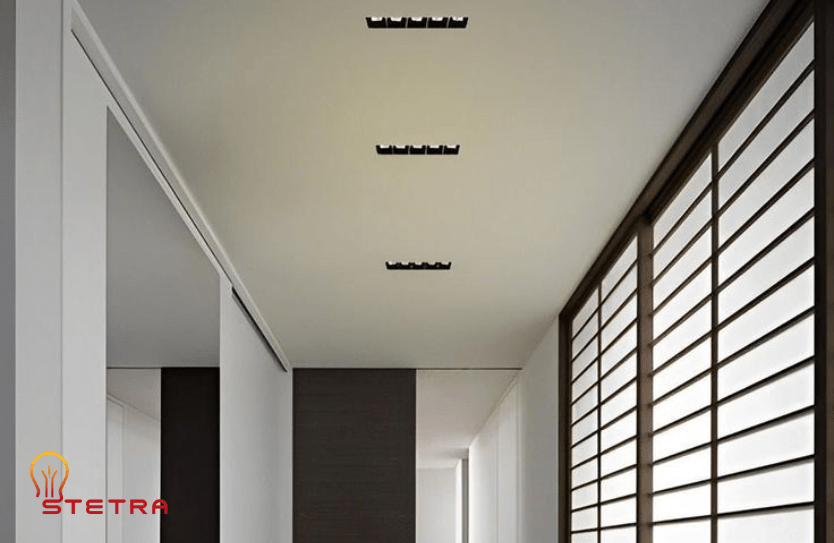
3. Rectangular Apertures:
- Larger fixtures can range from 2 × 6 inches to 24 × 48 inches, often used in specialty applications or to create linear lighting effects.
Recessed Wall Washers
Recessed wall washers are a type of downlight designed to illuminate vertical surfaces evenly, enhancing the appearance of walls while minimizing shadows or hotspots. Here are some details about their design, placement, and applications.
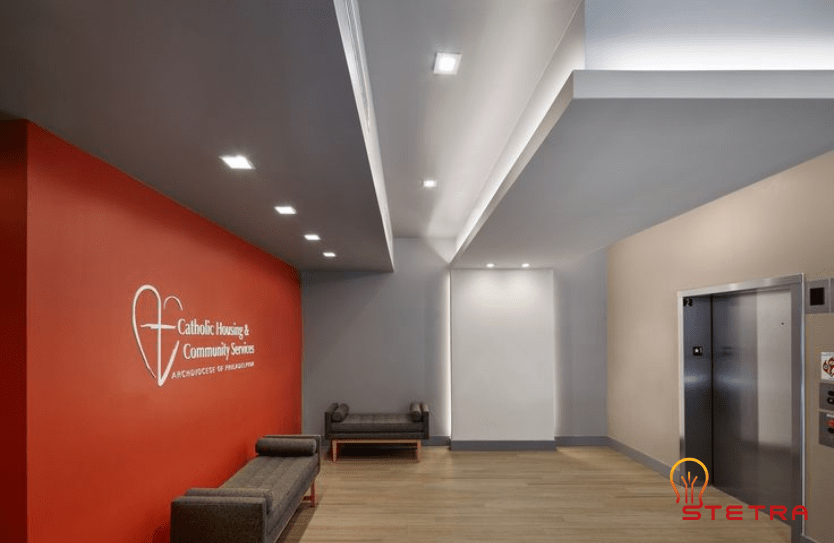
1. Light Distribution:
Wall washers use an asymmetric reflector or lens to direct light evenly across vertical surfaces. This ensures that the entire height and width of the wall are uniformly lit.
2. Design:
- They are often recessed into ceilings, with apertures typically ranging from 8 to 9 inches (20–23 cm).
- Fixtures may include lensed or open configurations to control light distribution.
3. Spacing and Placement
- Ideal spacing is typically equal to the distance from the wall to the luminaire, commonly 2.5 to 4 feet depending on the wall height. For example, if the fixture is 3 feet from the wall, the spacing between fixtures should also be 3 feet.
- Proper spacing prevents scalloping effects and achieves an even wash of light across the wall surface.
Adjustable Recessed Lights
Adjustable recessed lights are versatile luminaires designed to provide flexibility in directing light. Here’s an overview of their key features and uses.
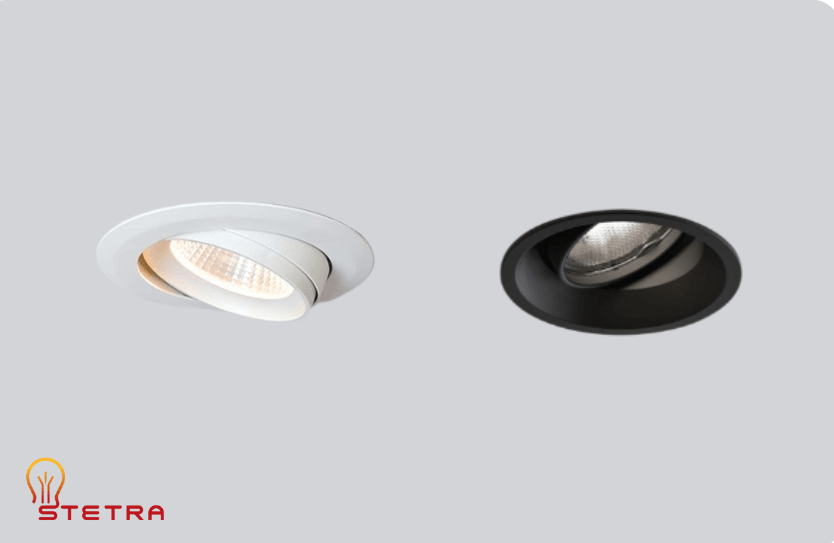
Adjustable Angles:
- These fixtures typically allow tilting angles of 0° to 30°, with some models extending up to 45° or 90° for semi-recessed options.
- Gimbal designs enable full directional control, moving the light beam in all directions.
Types:
- Standard Adjustable Downlights: Ideal for task or accent lighting, often used in galleries or retail environments.
- Deep-Recessed Models: These minimize glare but may reduce adjustability.
- Pinhole Adjustable Downlights: Provide precision but can obstruct light slightly depending on the trim design.
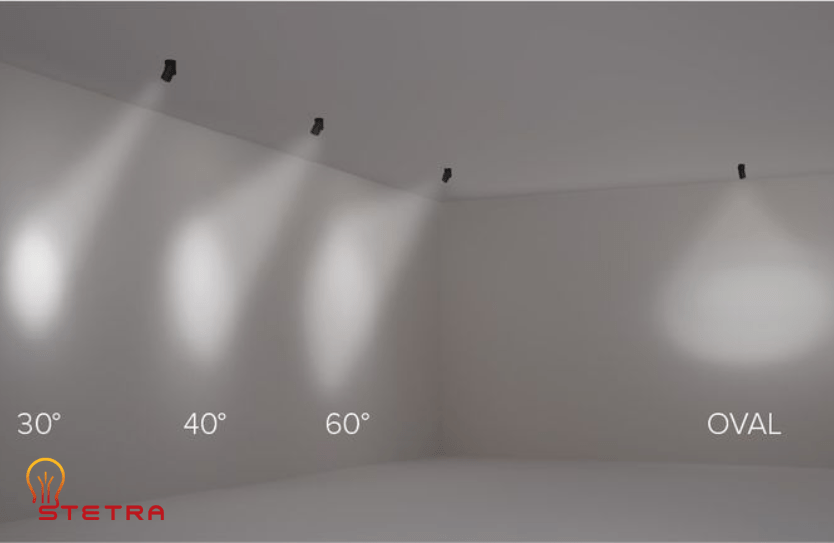
Light Beam Control:
- Beam angles can be altered by changing reflectors and lenses, or adding refractor sheets, enabling light distribution adjustments from narrow to wide spreads.
Shower or Wet-Rated Recessed Lights
Shower or wet-rated recessed lights are specifically designed for areas with high moisture levels, such as bathrooms and outdoor spaces. These fixtures are built to prevent water ingress and ensure safe operation in wet environments.

1. Ingress Protection (IP) Rating:
- Fixtures used in wet locations typically have an IP rating of IP44 or higher, depending on the exposure to water.
- For areas like shower zones or within bathtubs, IP67 is often recommended to ensure complete protection against water immersion.
Materials and Construction:
- Made with corrosion-resistant materials such as stainless steel or aluminum, and sealed with durable gaskets to prevent water ingress.
- Available in various finishes to blend with bathroom or outdoor aesthetics.
Applications:
- Bathrooms: Installed above showers, bathtubs, or vanities to provide focused task lighting.
- Outdoor Areas: Used in eaves, patios, or pathways where exposure to rain or humidity is common.
Installation and Compliance:
- Must be positioned according to zone-specific safety regulations, ensuring compatibility with damp or wet conditions:
- Zone 0 (inside the shower or bathtub): Requires fixtures with at least IP67.
- Zone 1 (above the shower or bath): IP44 or higher is required.
- Zone 2 (near sinks or other areas prone to splashes): IP44 minimum.
Planning Recessed Lighting: Basic and Advanced Approaches
Basic approach to recessed lighting planning
You can design a basic lighting layout in just four easy steps.
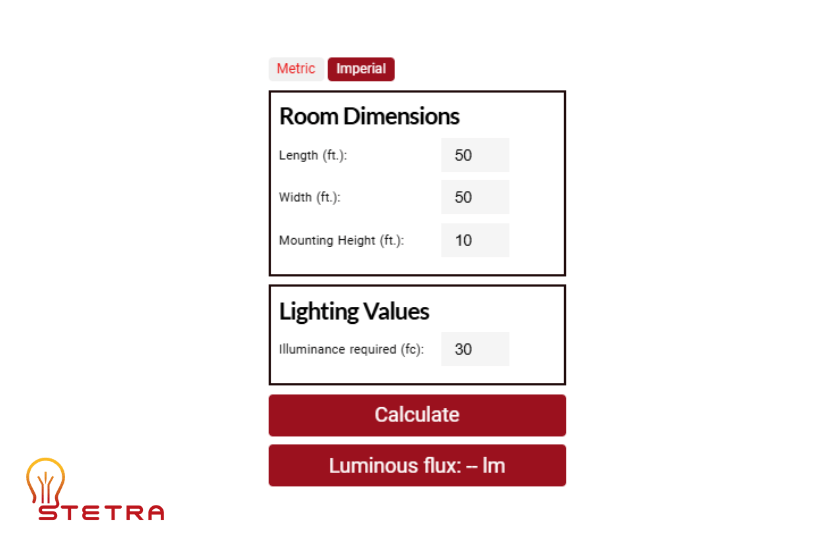
Step 1: Calculate Total Lumens Needed
Based on the room dimensions you input, use our lumen calculator to determine the total lumens required for the space.
Step 2: Check Lumen Output per Light Fixture
Find the lumen output of your chosen recessed lights. For example, if each light provides 800 lumens, this will be your baseline for calculation
Step 3: Determine the Number of Lights
Divide the total lumens needed by the lumens per fixture:
Number of Lights=Lumens per Fixture / Total Lumens Required
Example:
Total lumens: 4000lm
Lumens per fixture: 800lm
Number of lights: 4000/800 = 5
Step 4: Space the Lights Evenly
Use our recessed lighting calculator to ensure even spacing of the lights.
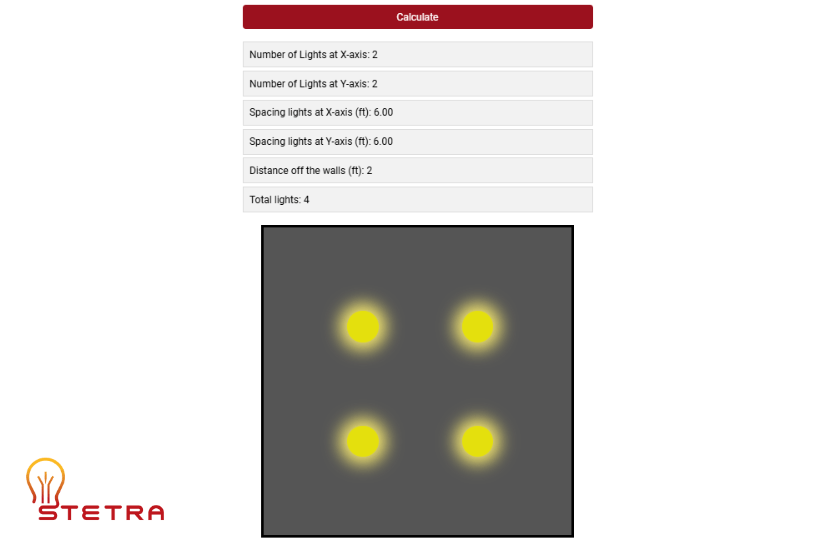
By following these steps and using tools like recessed lighting calculators and lumen calculators, you can ensure your space is well-lit and visually appealing. Happy lighting!
Design a sophisticated lighting layout using recessed lighting.
Creating a more sophisticated lighting layout involves a balance of functionality, aesthetics, and technical precision.
Key Steps for Creating a Floor Plan Lighting Layout:
Understand Space and Usage:
- Review the function of each space and identify the activities taking place. For example, a conference room may require task lighting for the table, accent lighting for walls, and ambient lighting for the rest of the space.
- Consider user needs, such as glare reduction for screen-heavy environments or enhanced brightness for visual tasks.
Determine Luminaire Placement:
- Use architectural axes like windows, doors, and furniture layouts to establish a grid. Align luminaires to create spatial symmetry and aesthetic coherence.
- For uniform illumination, calculate spacing based on the luminaire’s beam spread and ceiling height. For example, a downlight with a spacing criterion of 1.2 (1.2 times the mounting height) can cover a maximum distance of 7’9” with a 10’ ceiling height.
To ensure accuracy before installation, it is best to request a photometric report from a lighting studio, which will determine the optimal spacing for the downlights.
Layer Lighting Types:
- Ambient Lighting: Use ceiling-mounted fixtures like recessed lights to provide general illumination.
- Task Lighting: Focus on areas like desks or countertops, using directional downlights or pendants.
- Accent Lighting: Highlight architectural features, art, or focal points with adjustable spotlights or
wall washers.

Living Room Lighting: Cove lighting as a ambient lighting, downlights for task lighting and wall washers for accent lighting
Technical Considerations:
- Ensure compliance with energy codes and safety standards. For instance, recessed luminaires in wet zones must have an appropriate IP rating.
- Use software like Dialux to test beam angles and ensure even light distribution over desired surfaces.
- Integrate controls for dimming or scene settings to increase flexibility in use.
Reflected Ceiling Plan (RCP):
- Prepare a detailed RCP showing fixture types, placement, and wiring information. Include circuit and control group assignments to guide installation.
Aesthetic and Functional Adjustments:
- Mock-up installations to test luminaire visibility and shadow patterns. Adjust placements to optimize aesthetics and functionality.
The image below is an example of how we visualize recessed lighting in a floor plan. This type of visualization highlights potential recessed lighting positions, helping you see how the lighting will enhance the room.
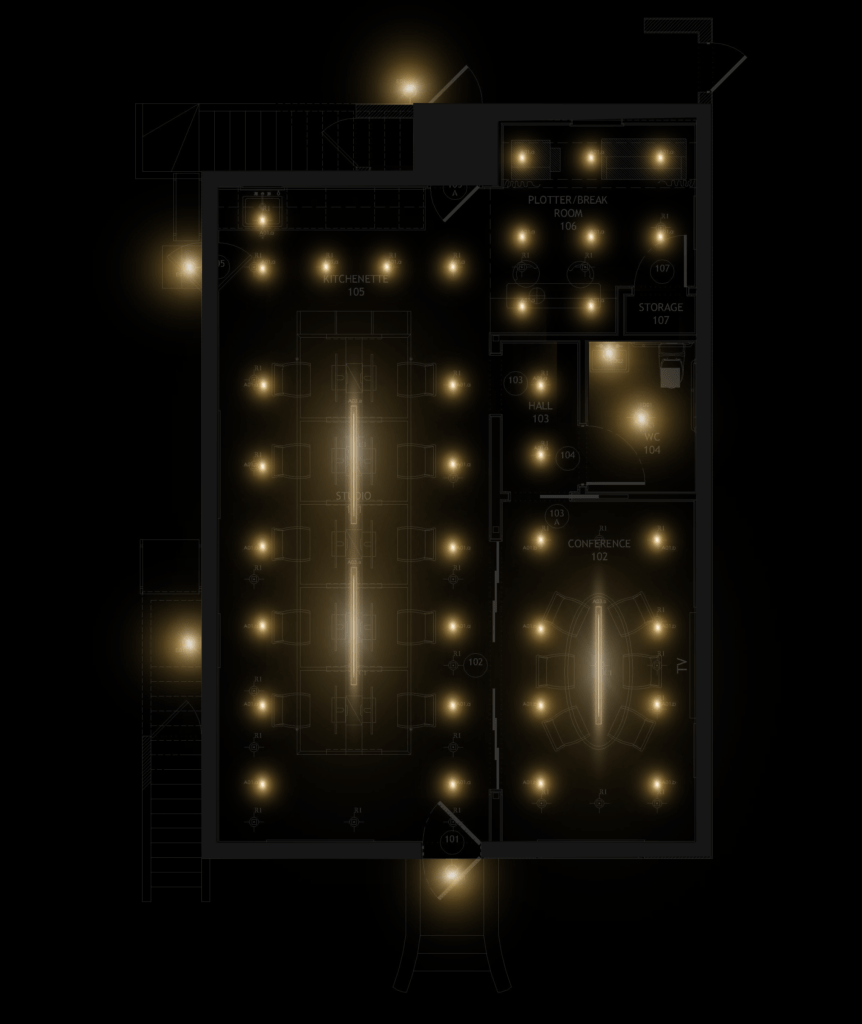
Visualization of a lighting layout with recessed lights.
Get Professional Lighting Design Assistance
Planning recessed lighting can seem daunting, but with a clear layout and practical tips, you can achieve a beautifully illuminated space. Whether upgrading your kitchen, adding charm to the living room, or enhancing your bathroom, recessed lighting offers a sleek and effective solution.
Our team at Stetra Lighting is here to assist you at every step. From creating precise lighting layouts to offering detailed visualizations, we ensure your lighting project is executed flawlessly. Check out our lighting services for more information on how we can help make your lighting vision a reality.
For those needing more detailed specifications, you can order a custom photometric plan directly from us to ensure every aspect of your lighting project is expertly managed.
