Effective outdoor lighting residential design is a function of strategic planning, not fixture selection. It is a technical process integrating safety, security, and architectural aesthetics. This foundational work ensures every luminaire serves a purpose, from pathfinding to accentuating architectural features.
Establishing a Lighting Design Foundation
Successful residential lighting projects begin with a comprehensive site analysis and clearly defined objectives. Before selecting luminaires, it is essential to understand the property’s characteristics and the client’s functional requirements. This forms the basis for the entire design.
Performing a Structured Site Assessment
The initial step is a property walkthrough to map critical zones and establish a visual hierarchy. This process determines which elements require emphasis and which should recede.
A site assessment should identify these key areas:
- Primary Circulation: Main pathways such as driveways, front walks, and entry points. These require clear, consistent illumination for safe navigation.
- Secondary Circulation: Side garden paths or walkways to secondary areas. These require visibility but at a lower intensity.
- Task and Gathering Areas: Patios, decks, and outdoor kitchens. These zones demand higher, more focused light levels for activities like cooking and dining.
- Architectural and Landscape Features: Facade details, specimen trees, or water features. Accent lighting in these areas adds depth and visual interest.
Defining Objectives and Gathering Data
With zones defined, each area must be assigned a specific function. For example, a front entrance may require functional lighting for safety and ambient lighting to create a welcoming atmosphere. This strategic approach is detailed further in this guide to exterior lighting design.
The following documents are required for an accurate design:
- Site Plans: Provide property lines, structure locations, and existing landscape features.
- Architectural Elevations: Essential for understanding facade materials and vertical dimensions, which inform fixture mounting locations.
- Landscape Plans: Detail plant species and locations, which is critical for fixture placement and selecting appropriate beam angles.
Defining Performance Targets and Light Levels
A professional lighting design is built on measurable performance goals. This phase translates the design vision into technical specifications that ensure safety, functionality, and aesthetic quality. It centers on establishing appropriate light levels for each application.
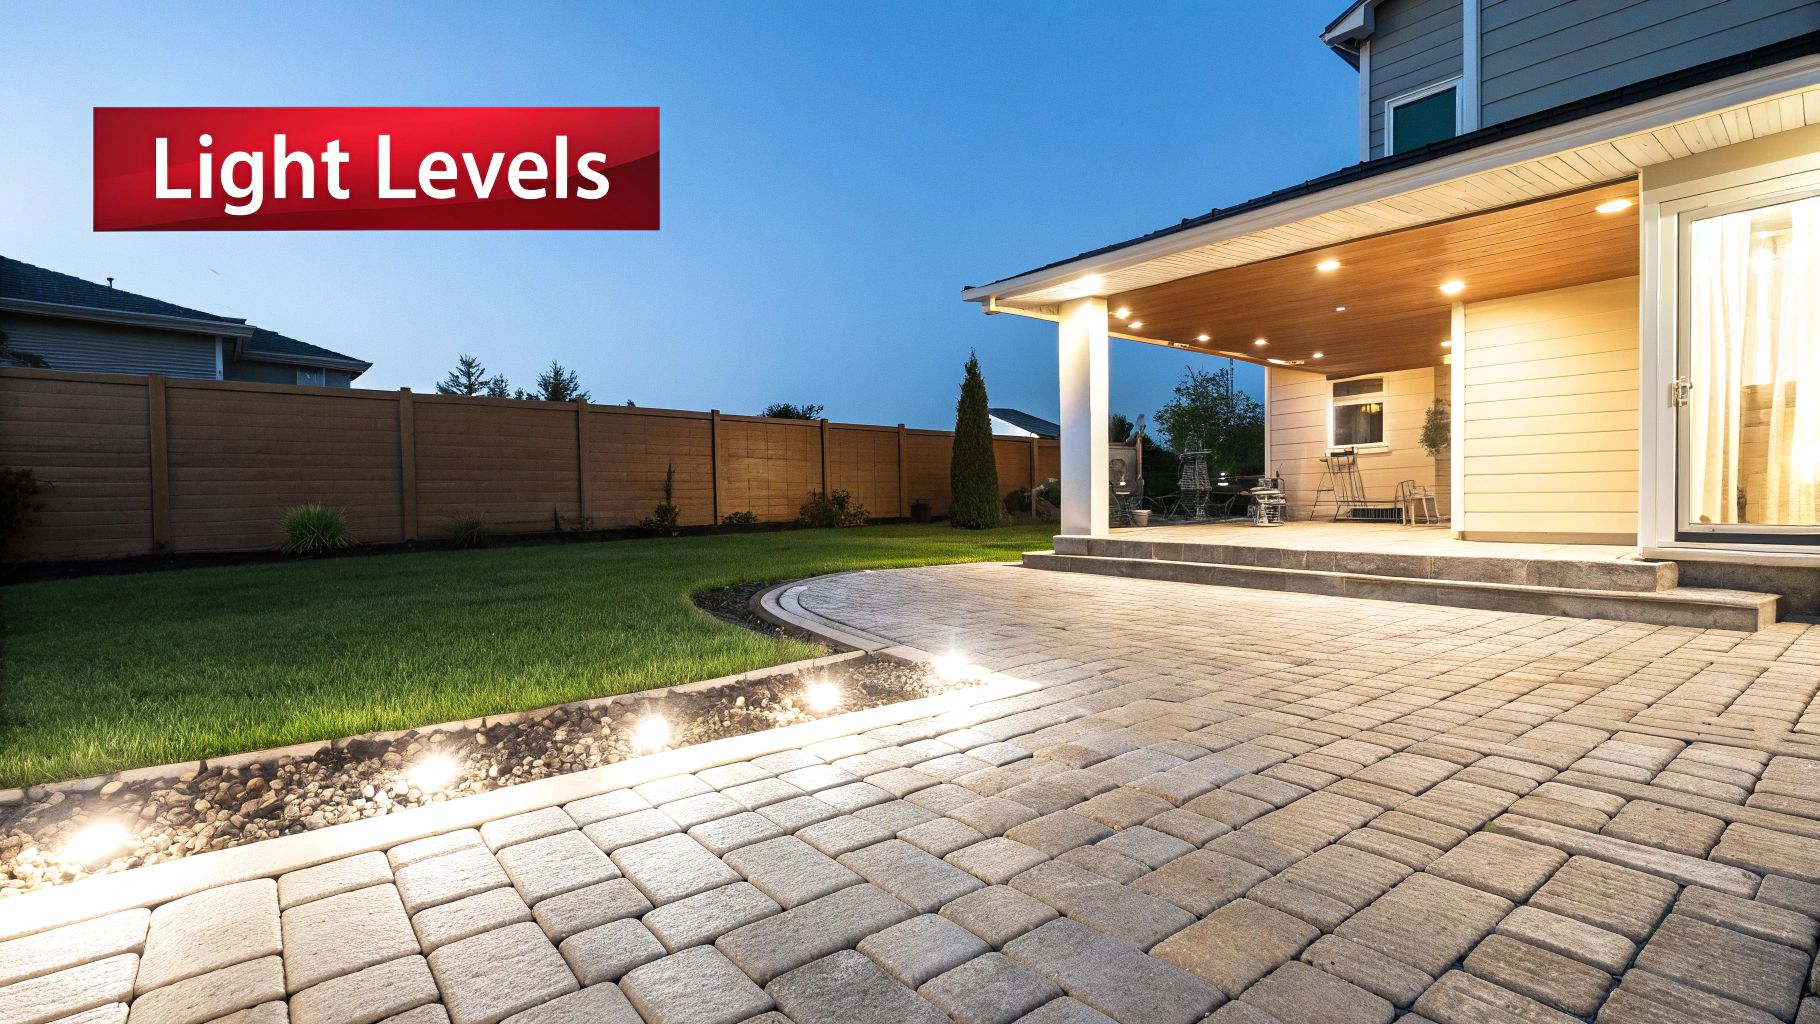
Setting Illuminance and Uniformity Targets
Each outdoor space requires a specific illuminance level, measured in foot-candles (fc). Walkways and stairs require approximately 1-2 average fc for safe navigation.
Active areas like outdoor kitchens or patios require more functional light. An illuminance range of 5-10 average fc is recommended for tasks such as cooking and dining. Specific targets are outlined in this guide on outdoor lighting foot-candle requirements.
Light uniformity is as critical as illuminance. A high uniformity ratio eliminates dark spots between fixtures, creating a continuous and secure environment. Poor uniformity results in distracting pools of light and deep shadows, which can be trip hazards.
Specifying Light Quality Metrics
Once illuminance levels are set, the quality of light must be defined. Two metrics are key:
- Correlated Color Temperature (CCT): Defines the color appearance of the light, measured in Kelvin (K). For residential applications, a warm CCT between 2700K and 3000K is standard. This range complements natural materials like stone, wood, and plant life.
- Color Rendering Index (CRI): Measures how accurately a light source reveals the true colors of objects. An index of 80 CRI or higher is necessary for outdoor lighting to ensure that foliage, flowers, and architectural finishes are rendered accurately at night.
A professional photometric analysis is the only method to verify that a design meets these quantitative and qualitative targets before installation. This step validates all design decisions and ensures predictable outcomes.
Selecting and Placing Fixtures for Optimal Performance

Fixture selection and placement are driven by function and directly tied to performance targets. Luminaires are tools selected for a specific purpose. Common fixtures in residential projects include bollards, path lights, wall sconces, and in-grade well lights. Bollards define perimeters and illuminate wider walkways. Path lights guide circulation along garden trails. Sconces illuminate vertical surfaces, such as entrances. Additional options are available in this guide on types of facade lighting.
Interpreting IES Files and Optics
Correct fixture selection requires understanding IES files. An IES file is a data file detailing a luminaire’s light distribution, including intensity, beam angle, and beam shape.
The selection of correct optics is critical. A narrow 15-degree beam is suitable for accenting a tall column but will create an ineffective hotspot on a wide wall. A wide-beam floodlight, such as 60 degrees, is necessary to wash that same wall or a broad landscape element. Using incorrect optics is a common error that leads to glare, wasted energy, and poor design execution.
Spacing and Mounting Best Practices
Fixture spacing and mounting heights are dictated by luminaire optics and target light levels. The primary goals are uniformity and glare control.
Follow these general guidelines:
- Path Lights: Space 8 to 12 feet apart and stagger their placement to create overlapping pools of light. Maintain a low mounting height of 18 to 24 inches to keep the light source below eye level.
- Bollards: For wider paths or driveways, space bollards 15 to 25 feet apart. With typical heights of 36 to 42 inches, careful attention to optics is required to prevent glare.
- Wall Sconces: At an entrance, mount sconces 66 to 72 inches above the finished floor. For wall grazing, placement is determined by the desired architectural effect.
Correct placement is fundamental to a professionally designed project. Market research highlights current trends in the outdoor lighting market.
Ensuring Code Compliance and Glare Control
Adherence to local codes is a non-negotiable requirement for professional outdoor lighting projects. Municipalities are enforcing stricter regulations on light pollution, making the management of glare, light trespass, and skyglow essential for plan approval.
This requires specifying fixtures with precise control over their light distribution. The Illuminating Engineering Society (IES) developed the BUG (Backlight, Uplight, and Glare) rating system to classify luminaire performance. The system rates each category on a scale from 0 to 5, with lower numbers indicating better performance.
Understanding BUG Ratings
A fixture’s BUG rating is derived from its IES file and is a primary specification criterion.
- Backlight (B): Measures light emitted behind the fixture, a primary cause of light trespass.
- Uplight (U): Measures light directed above the horizontal plane of the fixture, which contributes to skyglow. A U0 rating is often required in dark-sky ordinances.
- Glare (G): Rates forward-thrown light at high angles, which can cause visual discomfort.
Specifying luminaires with low B, U, and G ratings is the most direct method to achieve a compliant and responsible lighting design.
Practical Glare and Trespass Control
BUG ratings are a tool, but fixture placement and aiming are equally important for controlling unwanted light. A properly shielded, low-glare fixture can cause a nuisance if aimed incorrectly toward a window or adjacent property.
A common design error is failing to account for site topography. A fixture may appear compliant on a 2D plan but can become a source of glare for a neighboring property at a different elevation. Aiming angles must be verified from multiple viewpoints, not just a top-down plan.
For projects with strict code requirements, a full photometric analysis is necessary to prove design compliance. When a jurisdiction requires verification of foot-candle levels at the property line, you can order a photometric plan to obtain the calculations needed for municipal approval. Further information on fixture specification is available in our guide to dark-sky compliant lighting.
Integrating Controls and Energy-Efficient Strategies
A modern residential lighting design is an intelligent system that adapts to the user’s lifestyle while minimizing energy consumption. Lighting controls are essential for transforming a static installation into a dynamic, responsive environment and are often required by energy codes.

Common Control Options
The most direct controls remain highly effective. Timers and photocells provide reliable, automated operation that ensures baseline safety and security from dusk to dawn.
For a more responsive solution, motion sensors activate lighting only when needed. This strategy reduces energy use in low-traffic areas and serves as a security deterrent.
Advanced Control Strategies
Smart control systems offer the highest level of customization and convenience, typically managed via a mobile application.
- Dimming: Reducing light output saves energy and extends the life of LED luminaires. A patio can be set to 100% brightness for an event and later dimmed to 30% for relaxation.
- Zoning: Grouping fixtures into zones (e.g., architectural, landscape, pathways) allows for independent control to create custom scenes.
- Scheduling: Advanced scheduling enables programming of unique lighting scenes for holidays, seasons, or specific events.
Energy regulations drive the adoption of these strategies. With LEDs used in most new installations, smart controls can reduce energy consumption significantly. As building codes tighten, designing for efficiency is a requirement. You can learn more about these systems in our guide on intelligent lighting controls.
Finalizing Documentation for Installation
Clear and detailed documentation is the critical link between design intent and successful installation. It ensures that architects, engineers, and contractors are aligned, preventing costly on-site errors and misinterpretations.
A complete lighting package includes several key documents that create an unambiguous roadmap for construction.
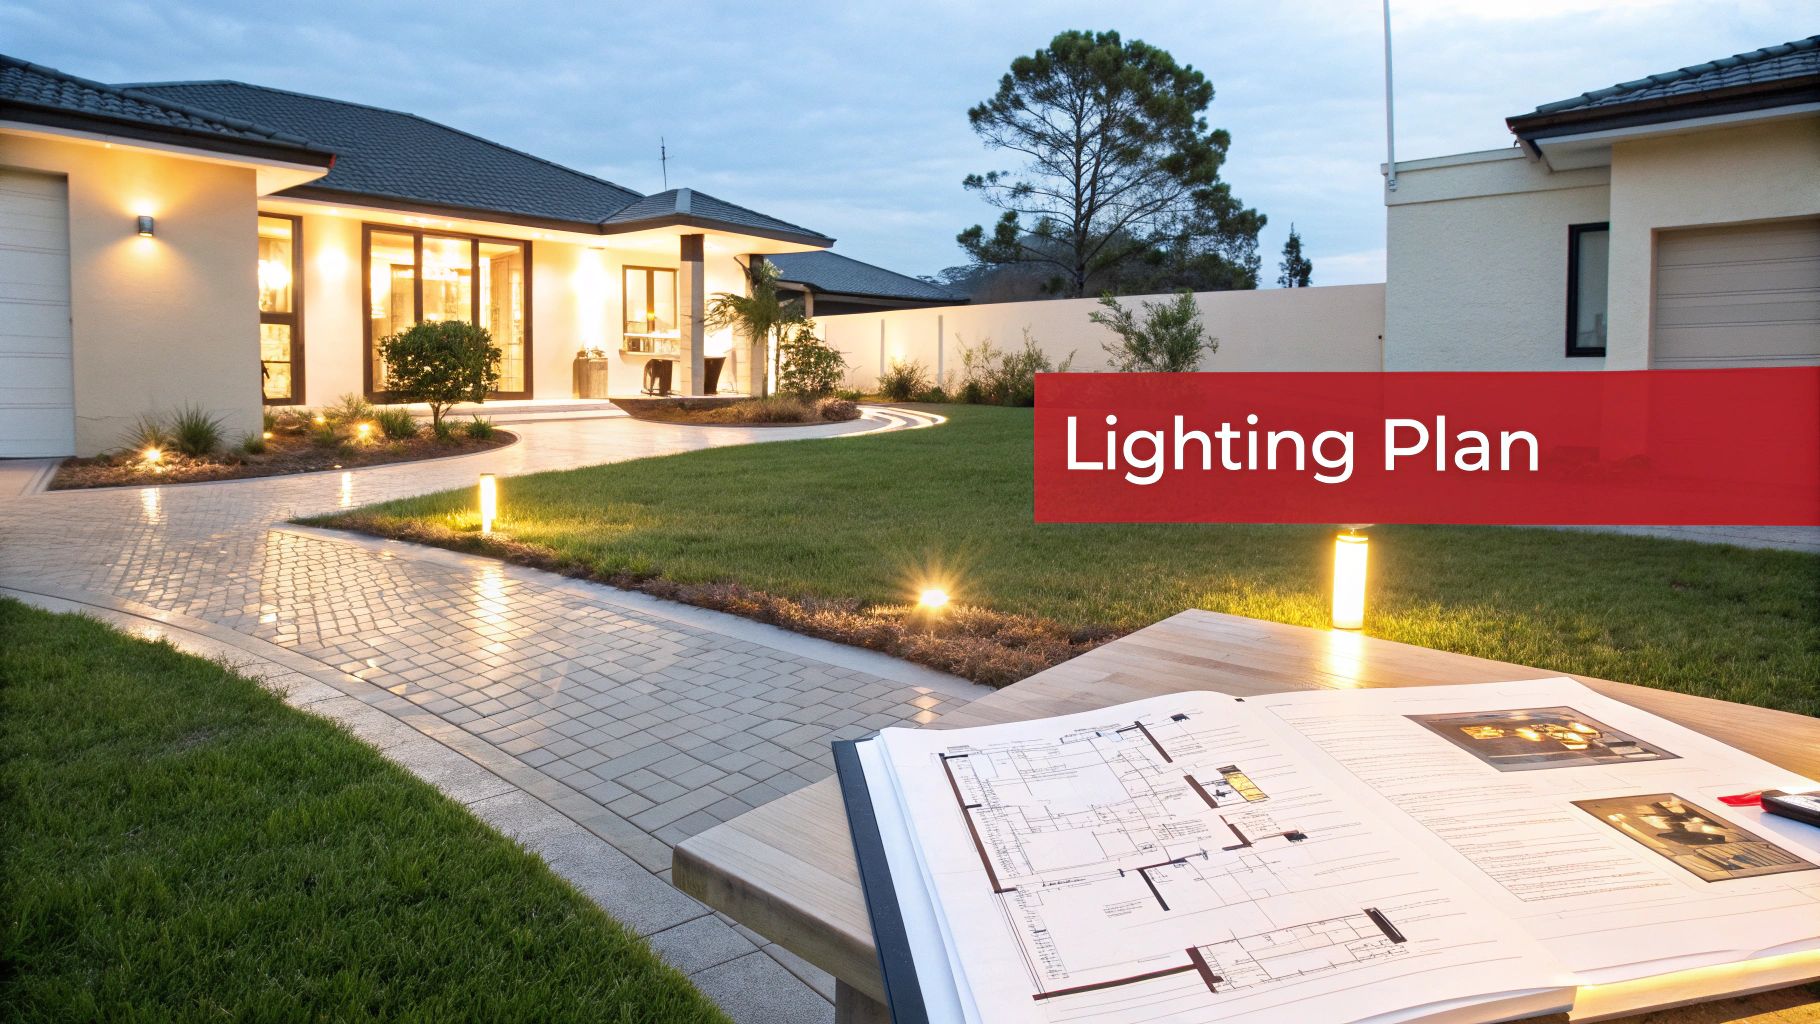
The Core Deliverables
- Lighting Layout Plan: The master drawing, typically an overlay on the site plan, showing the precise location of every luminaire. Each fixture is keyed to the fixture schedule.
- Fixture Schedule: A detailed inventory specifying each fixture type, including manufacturer, model number, lumen output, CCT, CRI, optics, and accessories.
- Control Narrative: A document explaining the system’s operational logic, including zoning, control types (timers, photocells, dimmers), and programming intent.
Meticulous documentation is the best method to prevent project delays and budget overruns. A validated lighting layout helps general contractors avoid rework costs.
Validating Design with Photometrics
For any project requiring municipal review or adherence to strict performance standards, a photometric report is mandatory. This document provides calculated proof that the design meets all targets for illuminance, uniformity, and light trespass.
The report validates the design with quantitative data, showing foot-candle readings across the property and at property lines. For projects with complex compliance requirements, Stetra Lighting provides a permit-ready photometric plan to ensure all calculations are accurate and formatted for agency approval. As demand for sophisticated residential outdoor lighting grows, technical accuracy is paramount. Keep informed on emerging real estate and lighting trends to stay current with industry developments.
Get your photometric plan by clicking on the link.