Foot-candles (fc) help you set lighting targets fast. They keep the design grounded in performance, not guesswork. Once you choose a target, you can check fixture count, spacing, and wattage with more confidence.
This article is for designers, architects, and contractors who want quick numbers that work in real spaces. You will learn practical fc ranges, what changes them, and how to avoid the most common mistakes that lead to glare, hot spots, and dark gaps.
What a Foot-Candle Target Really Means
A foot-candle is the amount of light reaching a surface. In lighting design, the surface matters. Floors, countertops, desks, and vertical walls can have very different needs.
That is why “one fc number for the whole room” usually fails. A kitchen might feel bright on the floor but still be too dim on the counters. A retail store might hit the average target but still look flat if the vertical lighting is weak.
In practice, use foot-candles for two things. First, set a target for each key area. Second, use the target to check if your spacing and beam angles make sense.
If you only chase an average number, you can still end up with an uncomfortable space. Real performance comes from the balance between average, minimum, uniformity, and glare control.
Rules of Thumb: Foot-Candle Ranges by Space
Use the ranges below as a starting point. They work well for early design, budgeting, and quick checks. Then adjust based on the task and the finishes.
- Living room: 5–15 fc (ambient). Add local light for reading.
- Bedroom: 5–10 fc (ambient). Higher at wardrobes if needed.
- Hallways / stairs: 5–10 fc, with clean transitions and no harsh glare.
- Kitchen: 20–40 fc on countertops (task). Floor levels can be lower.
- Bathroom: 15–30 fc general, higher at vanity for grooming.
- Home office: 30–50 fc on the workplane, with glare control on screens.
- Classroom: 30–50 fc on desks, with even coverage across the room.
- Retail: 30–50 fc general, with targeted accents for displays.
- Warehouse: 10–30 fc depending on tasks, rack height, and aisle width.
These ranges assume typical ceiling heights and light-colored finishes. If the space is dark, tall, or detail-heavy, you may need more light or better optics to reach the same perceived brightness.
Practical Details That Change the Target
Foot-candles are not the full story. Two designs can hit the same average fc and still look completely different. The difference is usually optics, spacing, and surface reflectance.
- Ceiling height: higher mounting heights need tighter optics, more output, or denser spacing to maintain the target.
- Beam angle: wide beams soften contrast but can reduce punch on tasks; narrow beams increase contrast but can create hot spots.
- Surface reflectance: dark floors, wood ceilings, and dark walls absorb light and reduce brightness.
- Vertical light: brighter walls often make the space feel brighter even if floor fc stays the same.

Left: fixture centered over the counter provides more uniform task lighting and stronger wall illumination.
Right: fixture shifted toward the front edge increases light near the user but reduces uniformity at the back of the counter.
Common Mistakes When People Ask “How Many Foot-Candles?”
The question is good. The mistake is assuming the answer is one number. Most lighting problems come from ignoring where the task happens and how the light is distributed.
- Mistake 1: Designing only for average fc and ignoring minimums.
- Mistake 2: Using a wide beam everywhere and ending up with flat, low-contrast task areas.
- Mistake 3: Using a narrow beam everywhere and creating hot spots and glare.
- Mistake 4: Placing fixtures on a perfect grid without checking furniture, aisles, or actual task zones.
- Mistake 5: Forgetting vertical illumination, especially in corridors, retail, and offices.
Fixing these is usually simple. Set the target for the right surface, pick optics that match the mounting height, and verify distribution with a quick calculation.

- Fix 1: Choose targets by surface (workplane, countertop, floor, or vertical wall), not one number for everything.
- Fix 2: Check minimums and uniformity, not only the average.
- Fix 3: Match beam angle and spacing to ceiling height to avoid scallops and glare.
Real Project Application: A Simple Workflow That Works
Here is a practical way to use foot-candles on real projects. This works for residential, office, retail, and many exterior layouts.
- Step 1: Define task zones. Mark where the work happens. Counters, desks, aisles, seating, and entrances are usually the key zones.
- Step 2: Set targets by surface. Example: 30–50 fc on desks, 20–40 fc on kitchen counters, and lower ambient levels elsewhere.
- Step 3: Choose optics for the height. Start with beam angles that match mounting height and spacing. Avoid mixing random optics without a reason.
- Step 4: Place fixtures based on the task, not the grid. Shift the layout to support the zones. Keep spacing consistent where uniformity matters.
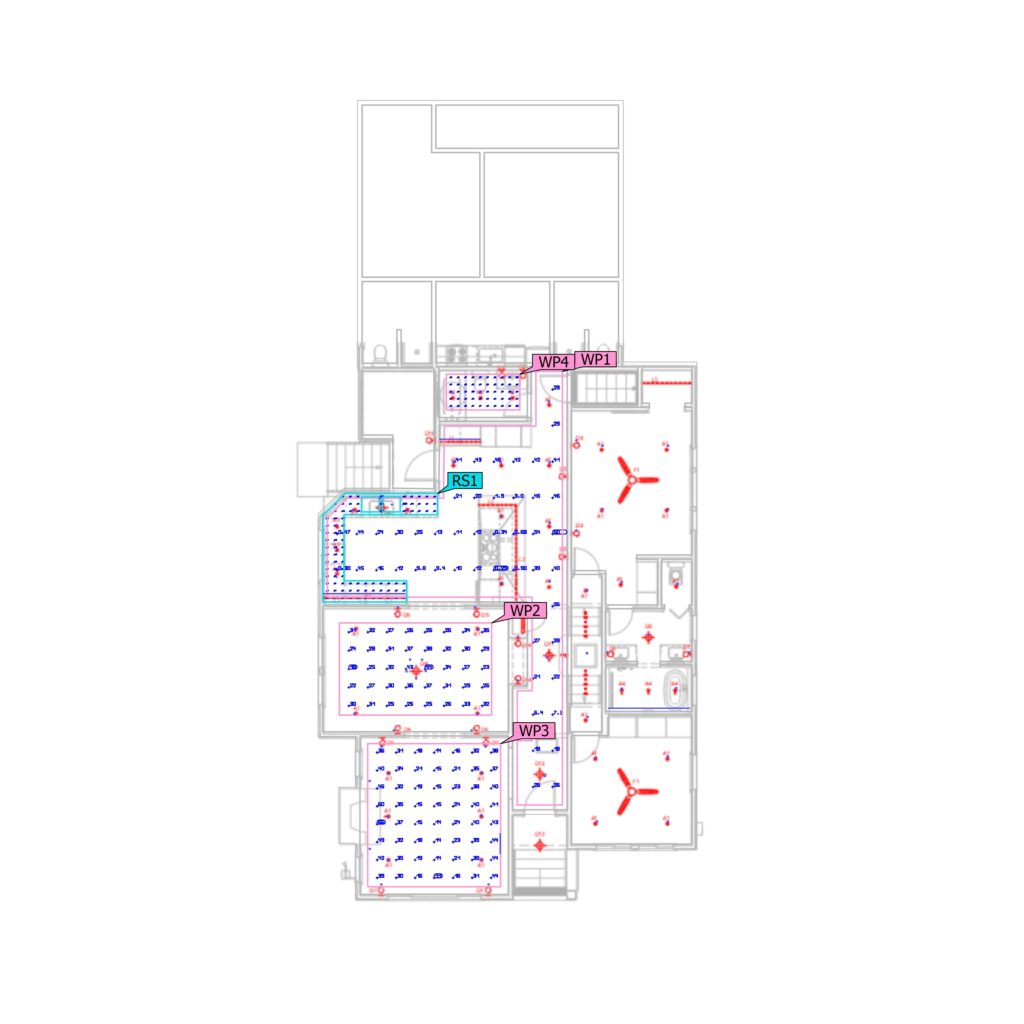
- Step 5: Verify with IES data. A fast photometric check shows average, minimum, and uniformity. It also reveals glare risks and hot spots early.
Example scenario: a small office with open desks and a video-call area. The desks need a stable 30–50 fc on the workplane. The video-call area needs comfortable vertical light and low glare. The first layout hit the average target, but the minimum values were low near the perimeter and glare was visible at the main sightlines.
The fix was not “more lumens everywhere.” The fix was better spacing, tighter control of optics near sightlines, and a small adjustment to aiming and placement so the light supported the desks and walls evenly. The result was smoother uniformity, better comfort, and a cleaner look with fewer surprises during installation.
Get a Professional Photometric Plan
We create accurate photometric plans ready for permitting, contractor installation, and real-world performance.
Key Takeaways
- Foot-candles are a target for a surface, not a single number for the whole project.
- Start with room-by-room ranges, then adjust for tasks, ceiling height, and finishes.
- Always check minimums and uniformity. The average alone can hide problems.
- A quick photometric calculation using real IES files is the fastest way to avoid surprises.

If you want to move faster and avoid guesswork, Stetra Lighting can create a complete photometric plan using your fixture IES files and real targets. This gives you a clear layout, verified foot-candles, and documentation that is ready for permitting and installation.