Grazing lighting is a technique used to emphasize the texture of a surface. It involves placing light fixtures close to a vertical plane and aiming them at a steep angle. This method creates strong highlights and deep shadows, revealing the depth and character of materials like stone, brick, wood, or concrete.
Understanding the Grazing Lighting Effect
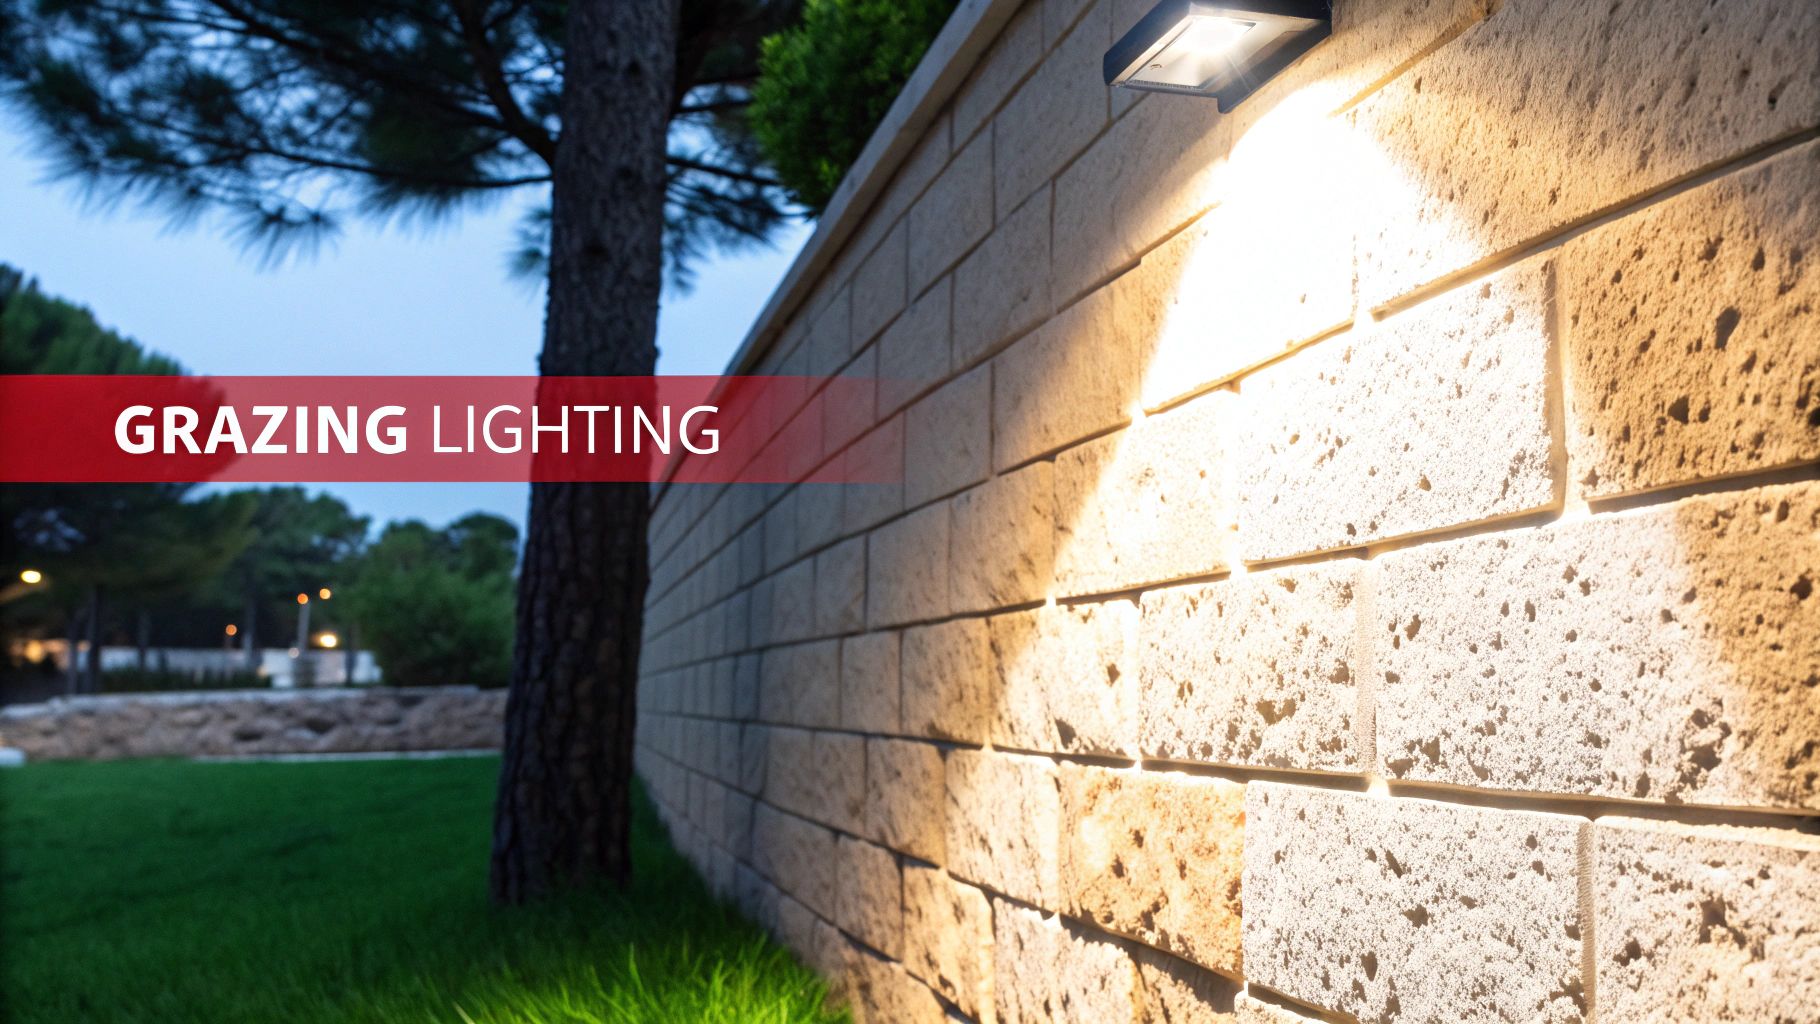
For architects, engineers, and designers, grazing lighting accentuates a building's material palette. By directing light nearly parallel to a surface, the technique magnifies textural variations. The result is a dynamic interplay of light and shadow that transforms a flat surface into a key architectural feature.
This method is most effective for:
- Textured Materials: Stone, split-face block, rustic brick, and rough-sawn wood are ideal candidates.
- Architectural Features: The technique draws attention to historical details, columns, or modern facade panels.
- Interior and Exterior Walls: The effect is suitable for both indoor accent walls and entire building facades.
Grazing vs. Washing
Grazing lighting should not be confused with wall washing. The two techniques have opposite goals. Wall washing uses diffuse, even light to minimize surface imperfections, creating a smooth and uniform appearance.
In contrast, grazing highlights and exaggerates surface variations to create visual interest. A clear understanding of the differences between wall washing and wall grazing is essential for selecting the correct approach. Proper application of grazing lighting makes a structure's materials a central part of its nighttime identity.
Core Principles for Effective Grazing
Effective grazing lighting depends on three factors: fixture placement, aiming angle, and beam selection. Proper coordination of these elements ensures predictable and powerful visual effects. Mastering these fundamentals is key to transforming a surface with depth and texture.
The setback distance—the measurement from the fixture to the wall—is the primary control. A close setback creates a steep angle of incidence, producing long, deep shadows that accentuate texture. Increasing the setback distance softens the effect, eventually transitioning it toward a wall wash.
Fixture Spacing and Optics
Fixture spacing is critical for achieving a continuous and uniform appearance. Incorrect spacing results in distracting dark spots or uneven scallops of light. A common guideline is to set the spacing between fixtures equal to or less than their setback distance from the wall. This 1:1 ratio provides a reliable baseline for most applications.
The objective of grazing lighting is to create a seamless curtain of light. A closer fixture setback requires tighter spacing to maintain uniformity and prevent visual breaks.
Fixture optics are equally important. Grazing requires a narrow, focused light distribution to control the effect and mitigate glare.
- Beam Angle: Specify fixtures with tight beam angles, typically 10 degrees or narrower. This precision is necessary to create the crisp, distinct shadows that define the grazing technique.
- Light Distribution: Tightly controlled optics prevent light spill onto adjacent surfaces and reduce skyglow in exterior applications.
The principles covered in this downlight beam angle guide are also applicable to grazing lighting fixture selection.
Grazing Lighting Design Parameters
| Parameter | Best Practice | Impact on Visual Effect |
|---|---|---|
| Setback Distance | Typically 6–12 inches from the surface. | Closer placement creates longer, sharper shadows and emphasizes texture. |
| Fixture Spacing | Keep spacing equal to or less than the setback distance (1:1 ratio). | Tighter spacing prevents dark spots and creates a continuous curtain of light. |
| Beam Angle | 10 degrees or narrower. | A narrow beam is essential for creating high-contrast shadows and minimizing light spill. |
| Aiming Angle | Aim parallel to the surface for maximum effect. | Slight adjustments can soften or sharpen shadows, allowing for on-site fine-tuning. |
Adhering to these guidelines provides a solid framework for creating intentional grazing effects that highlight architectural details.
How to Select the Right Fixtures
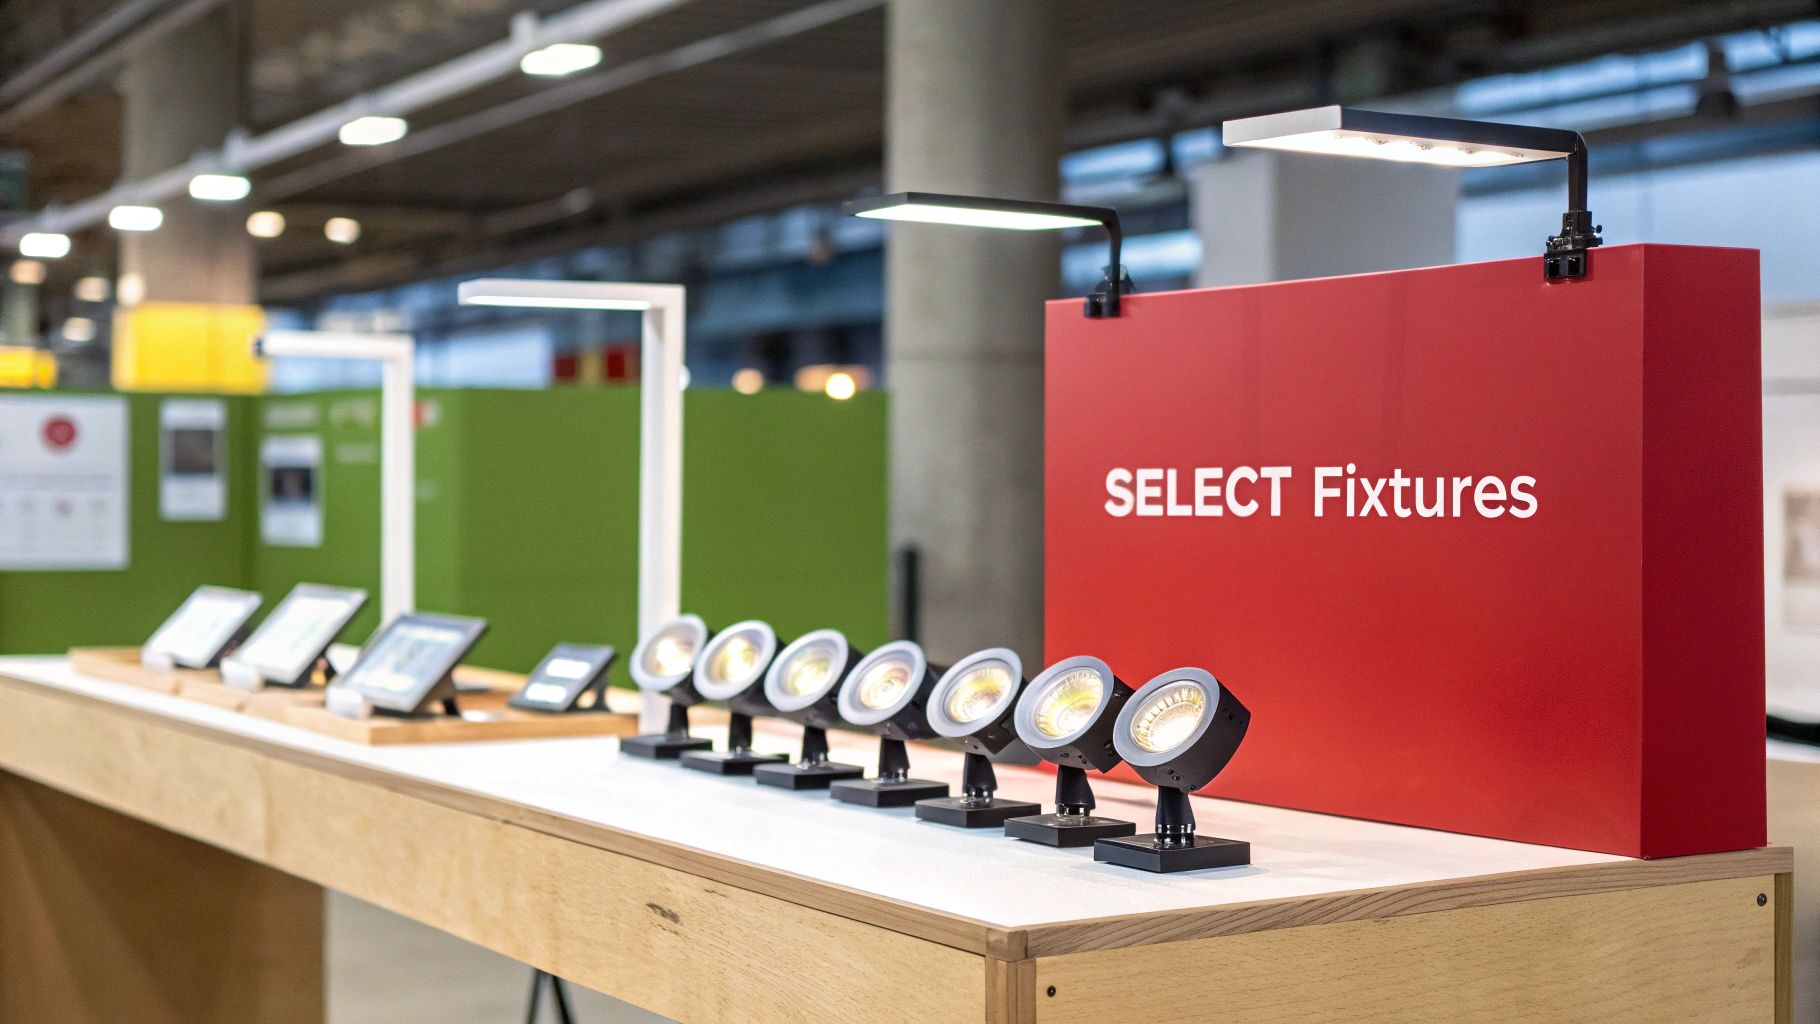
The success of a grazing lighting design depends on luminaire selection. Fixture form factor, optics, and performance specifications directly impact the final outcome. The selection process requires balancing aesthetic goals with the technical requirements for a durable and effective installation.
Linear vs. Spot Fixtures
The initial decision is often between linear fixtures and individual spot fixtures. Each type serves a distinct purpose.
- Linear Fixtures: These are the standard for creating a seamless, uniform curtain of light on large, continuous surfaces. They are designed to deliver smooth vertical illumination, making them ideal for large facades.
- Spot Fixtures: These offer precise control for illuminating columns, alcoves, or irregularly shaped architectural details. They allow for targeted aiming in areas where a continuous fixture is not feasible.
Key Performance Specifications
After selecting a fixture type, technical specifications must be evaluated. Lumen output must be sufficient to illuminate the entire surface without creating hot spots at the base. Taller surfaces require a higher lumen package to maintain adequate light levels at the top.
For a successful grazing effect, optics are critical. A narrow beam angle of 10 degrees or less is essential for creating sharp, defined shadows. Wide-beam fixtures will wash out texture, defeating the purpose of the technique.
For exterior applications, a high Ingress Protection (IP) rating, such as IP66 or IP67, is necessary to protect against dust and water ingress. Additionally, understanding the impact of CRI (Color Rendering Index) ensures that material colors are rendered accurately. Finalizing these specifications during the design phase prevents costly on-site issues.
Photometric Analysis for Compliance and Verification
Professional lighting projects require quantitative analysis to ensure predictable, code-compliant results. A photometric analysis is essential for grazing lighting. This process uses IES files and specialized software to simulate how light will interact with a surface, verifying performance before installation.
The primary deliverable is a photometric plan. This document demonstrates that the proposed fixture placement, spacing, and beam angles will achieve the target illuminance and uniformity. It also serves as proof of compliance with local lighting ordinances for permitting.
Key Metrics for Lighting Compliance
Local codes regulate light trespass, skyglow, and glare. A photometric analysis addresses these concerns by calculating key metrics required by permitting authorities.
- Foot-candle (fc) Levels: This metric quantifies the amount of light reaching a surface, proving that the design meets requirements without over-lighting or wasting energy.
- Uniformity Ratios: For grazing, these ratios confirm that the light distribution will be smooth and even, preventing distracting hot spots and dark areas.
- BUG Rating (Backlight, Uplight, Glare): This rating is critical for exterior projects. The BUG system quantifies stray light, helping designers select luminaires that reduce light pollution and meet dark-sky requirements. This topic is covered in more detail in our practical guide to photometric analysis.
Verifying Performance for Project Approval
A photometric plan serves as a critical risk management tool. It provides architects, engineers, and property owners with the confidence that the design intent will be realized. For projects requiring municipal or client approval, professionals can order a permit-ready photometric plan to verify compliance and ensure a successful outcome.
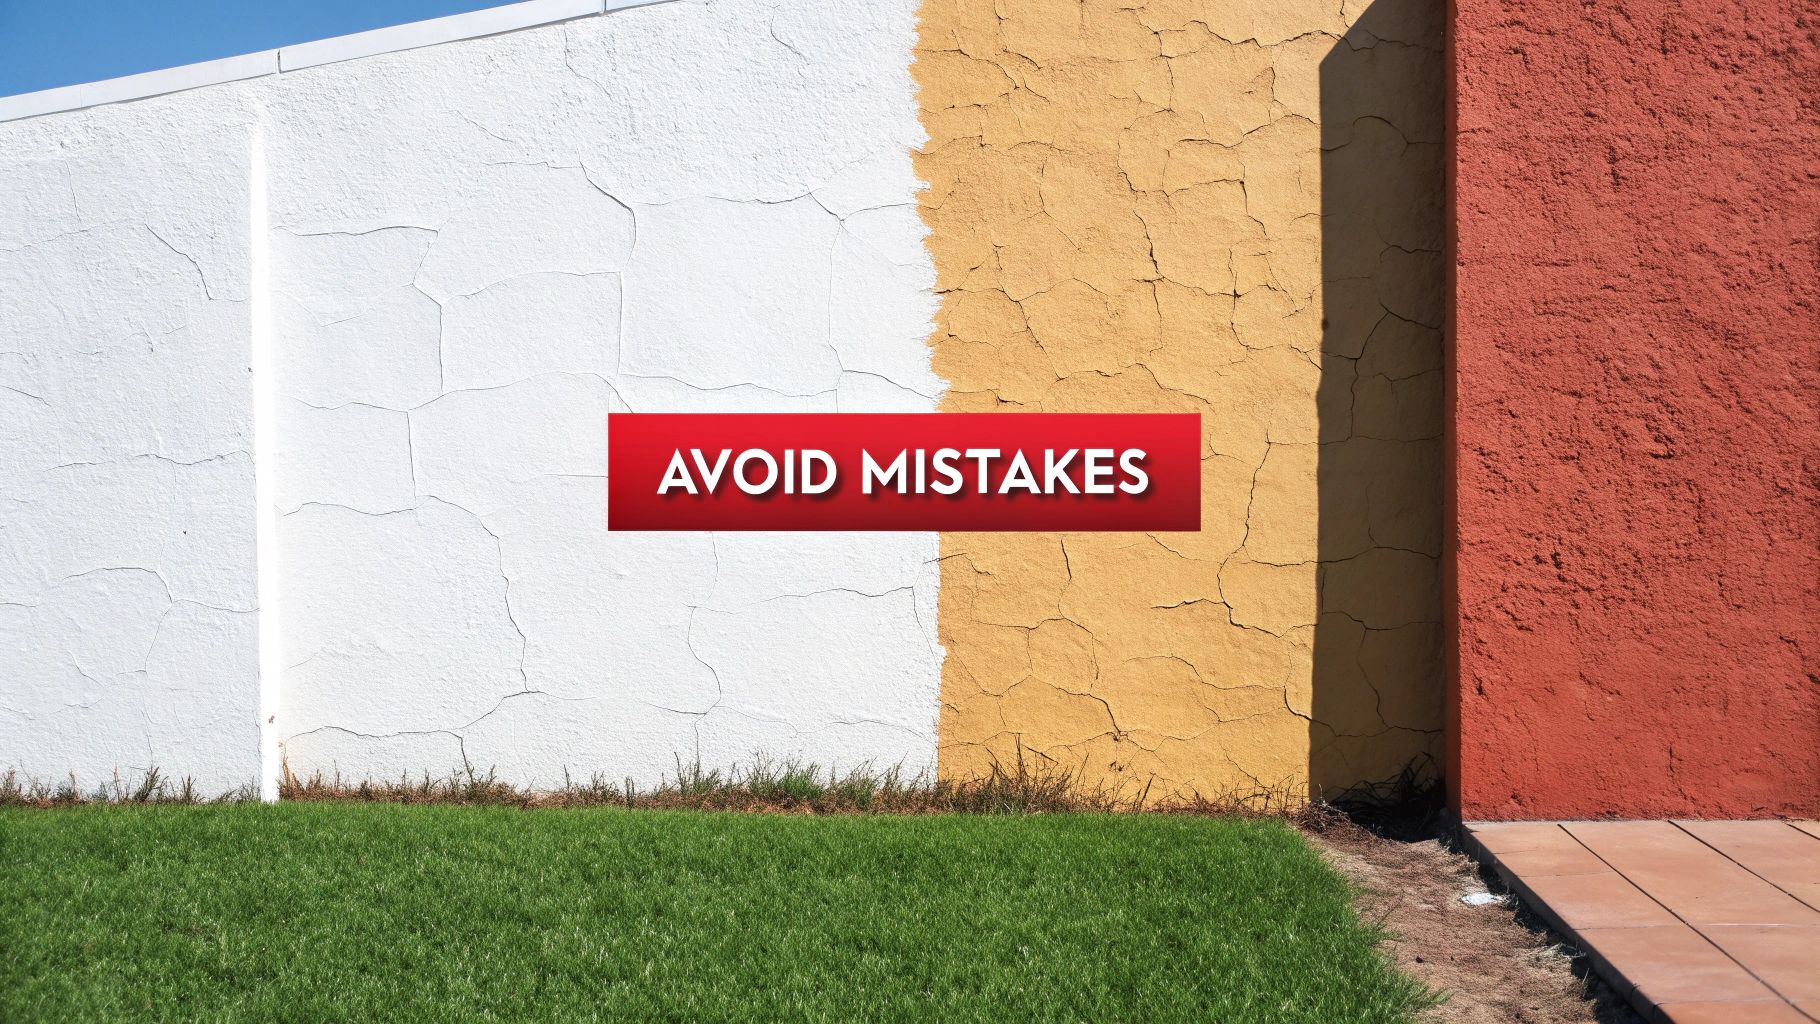
Common Grazing Lighting Mistakes to Avoid
Executing a successful grazing lighting design requires precision. Small miscalculations in placement, spacing, or fixture selection can undermine the intended effect. Understanding common pitfalls is the first step toward avoiding them.
Incorrect Fixture Placement and Spacing
A frequent error is placing fixtures too far from the surface. This increases the setback distance, which softens shadows and transitions the effect into a wall wash, eliminating the dramatic texture. To prevent this, maintain a close setback distance, typically between 6 and 12 inches, to produce sharp, elongated shadows.
Improper spacing between luminaires is another common problem that creates two distinct issues:
- Hot Spots: Fixtures spaced too closely together create overly bright areas at the base of the wall, indicating poor layout.
- Scalloping: Fixtures spaced too far apart produce dark gaps or visible arcs of light, disrupting the visual continuity of the effect.
Following a 1:1 spacing-to-setback ratio is a reliable starting point for achieving a continuous curtain of light that defines a professional installation.
Poor Glare Control and Uniformity
Glare occurs when the light source is visible to observers, causing visual discomfort and distracting from the architectural feature. It is typically caused by incorrect aiming or using fixtures without proper shielding accessories like louvers or snoots.
Poor uniformity is detrimental to a successful grazing application. The goal is seamless vertical illumination that guides the eye up the facade, not a chaotic pattern of bright and dark patches that appears accidental.
Verifying design parameters with a detailed photometric analysis is critical. A professional analysis ensures that foot-candle levels are consistent and that BUG ratings comply with local codes. This step prevents expensive and difficult on-site corrections after installation is complete.